Uploading a Document Web Page
Overview - The Upload a Document function allows a user to upload documentation into EDMS for an existing case (claim, prior authorization, etc.).
Uploading a Document: Web Page Details
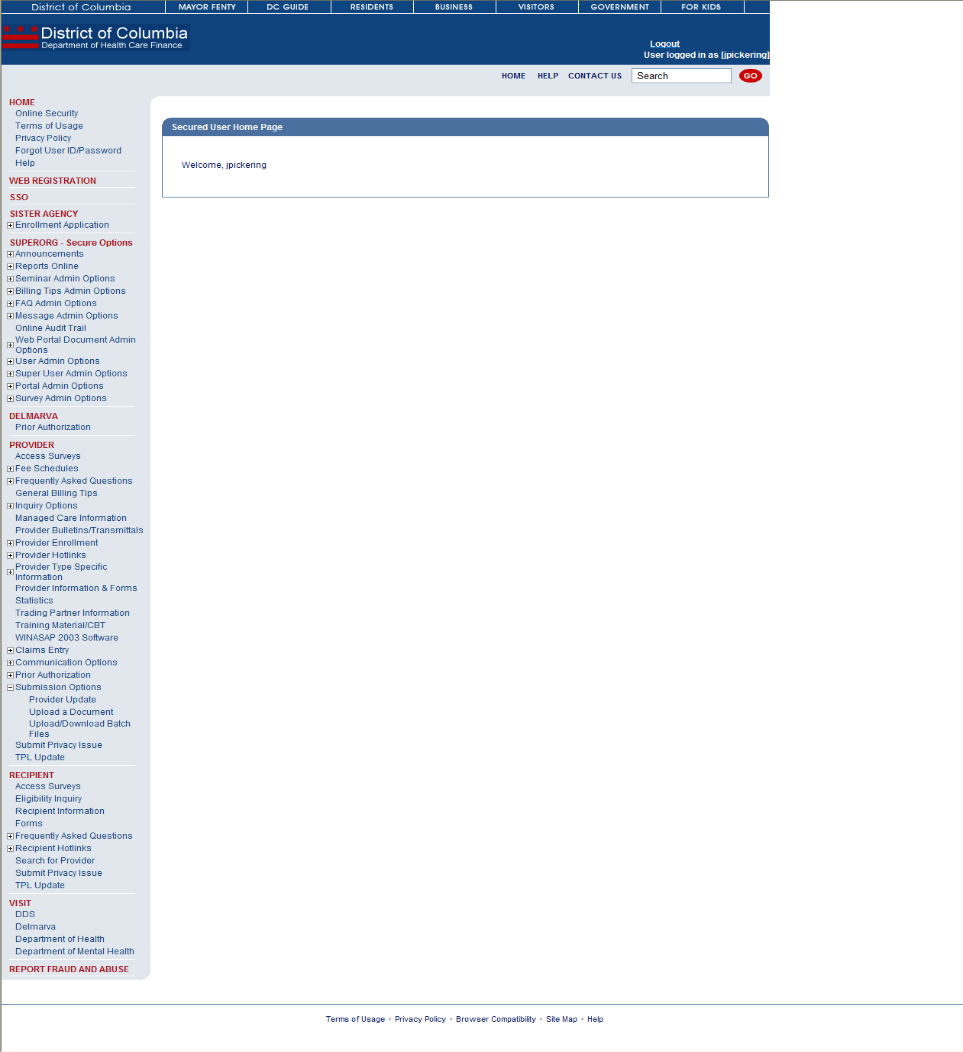
Figure 257: Uploading a Document
Uploading a Document: Web Page Details
- After logging in to the secure Web Portal, on the left side of the Home Pagein the navigation bar, the user should click Submission Options.
- The Submission options will expand showing Upload a Document.
- The user will click Upload a Document to access the Upload Document page.
- The user will select what form type they will be uploading to by using the Form Type drop-down box. The options are:
Figure 258: Uploading a Document

- After the user has the selected the form type, the Document Type drop-down box will be dynamically populated with documents that are related to the chosen form type. For example, if the user selects Claim Form from the Form Type box, the Document Types available in the drop-down box will be CMS 1500 Part B, UB04 Part A, Dental, Adjustment, and Voids.
- Additionally, the user will enter the ID of the case they are uploading to. This ID type will dynamically change depending on which Form Type was selected. The identifiers are as follows:
-
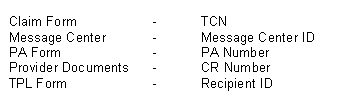
- After selecting the appropriate Document Type, the user will enter the identifier (TCN, PA Number, etc.).
- Next, the user will click Browse to select the document to upload. A new window will open from which the user will select the document.
- After completing these entries, the user will click Submit to upload the document to EDMS.
- A success message will be returned stating the document was successfully uploaded.